Managing Classes
Goal: View, create, and manage classes — including rosters, sessions, and instructor assignments.
Classes are the core organizational unit in VoTech. Each class belongs to a location, runs within a term, and has a category (free-text, e.g., "Construction", "Welding"). Students are enrolled in classes, and attendance is taken per session.
📋 Viewing All Classes
- Click Classes in the sidebar under Program
- The class list shows all classes at your location (Directors see their county; Super Admins see all)
- Each row shows: class name, category, location, term, status (Active/Inactive), student count

➕ Creating a New Class
Available to: Super Admin, Director
- 1
Click Create Class
Click the Create Class button at the top of the Classes page.
- 2
Fill in the class details
Enter the class name (e.g., 'Welding Fundamentals - Spring 2026'), location, term, category (free-text with suggestions), time slot, schedule (days), start date, and end date.
- 3
Set the schedule
Be precise with days and times. VoTech creates individual sessions based on this schedule, and those sessions are what attendance is recorded against.
💡 Create classes before the term starts so attendance is ready on day one. - 4
Submit
Click Create. The class appears in the list and sessions are generated automatically.
Class Type Progression
The Fundamentals → Track progression is an operational convention, not a system-enforced enum. Category is a free-text field — you can enter any value.
| Type | Purpose | Typical Duration |
|---|---|---|
| Fundamentals | Introduction to the skill area — safety, basic skills, orientation | First cohort |
| Track | Advanced skill development — hands-on projects, certifications | Subsequent cohorts |
Students typically progress from Fundamentals to Track classes within their career area.
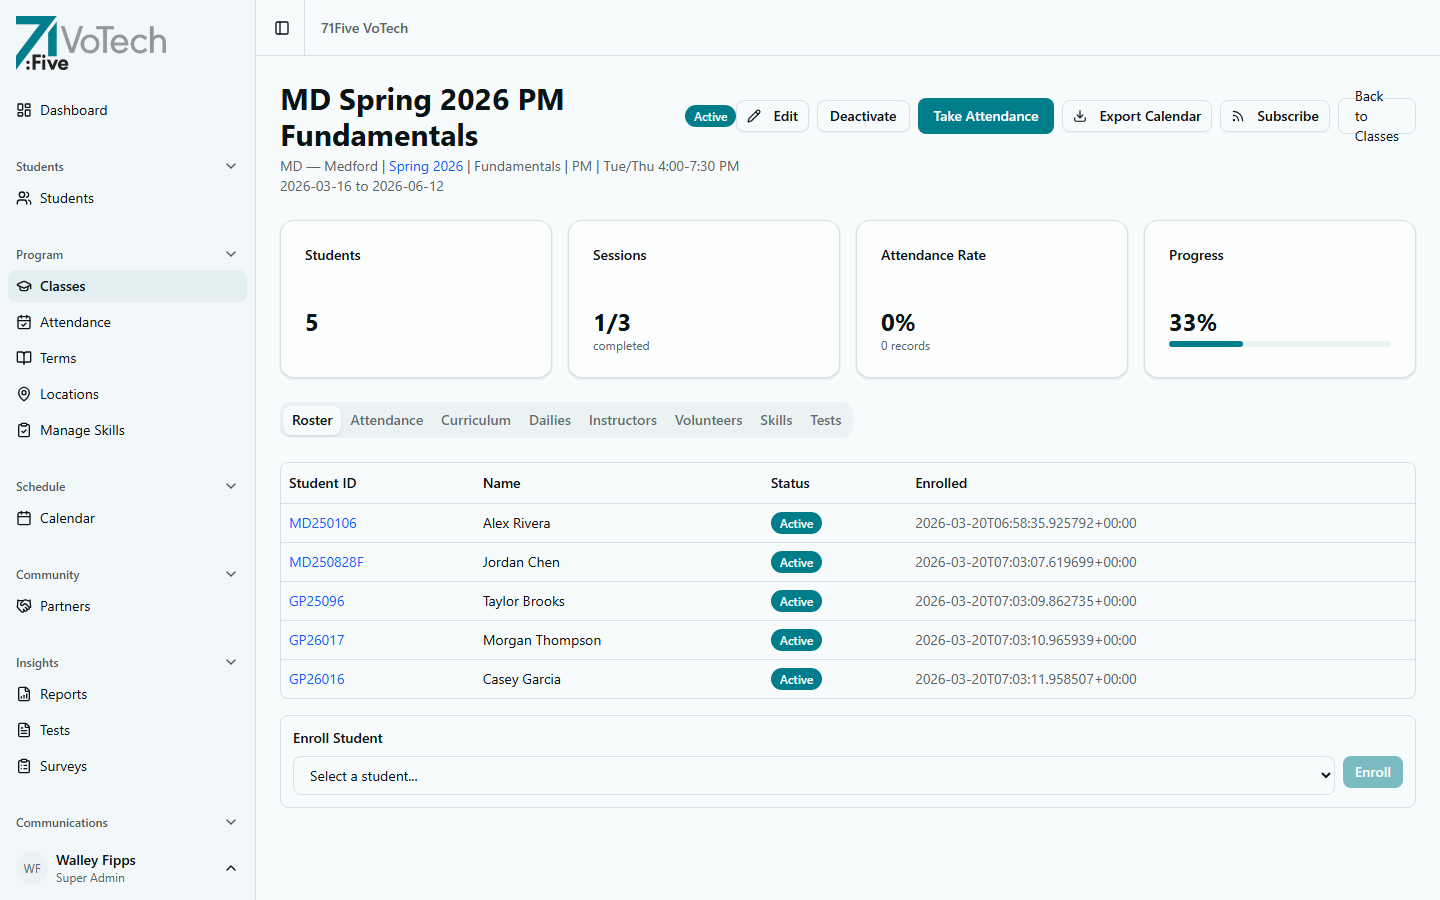
📄 The Class Detail Page
Click a class name to open its detail page. At the top you'll see overview stats: student count, sessions completed, attendance rate, and progress.

The detail page has these tabs:
Roster Tab
- All students enrolled in this class — Student ID, name, status, enrolled date
- Quick links to each student's detail page
- Enroll Student button (if you have permission)
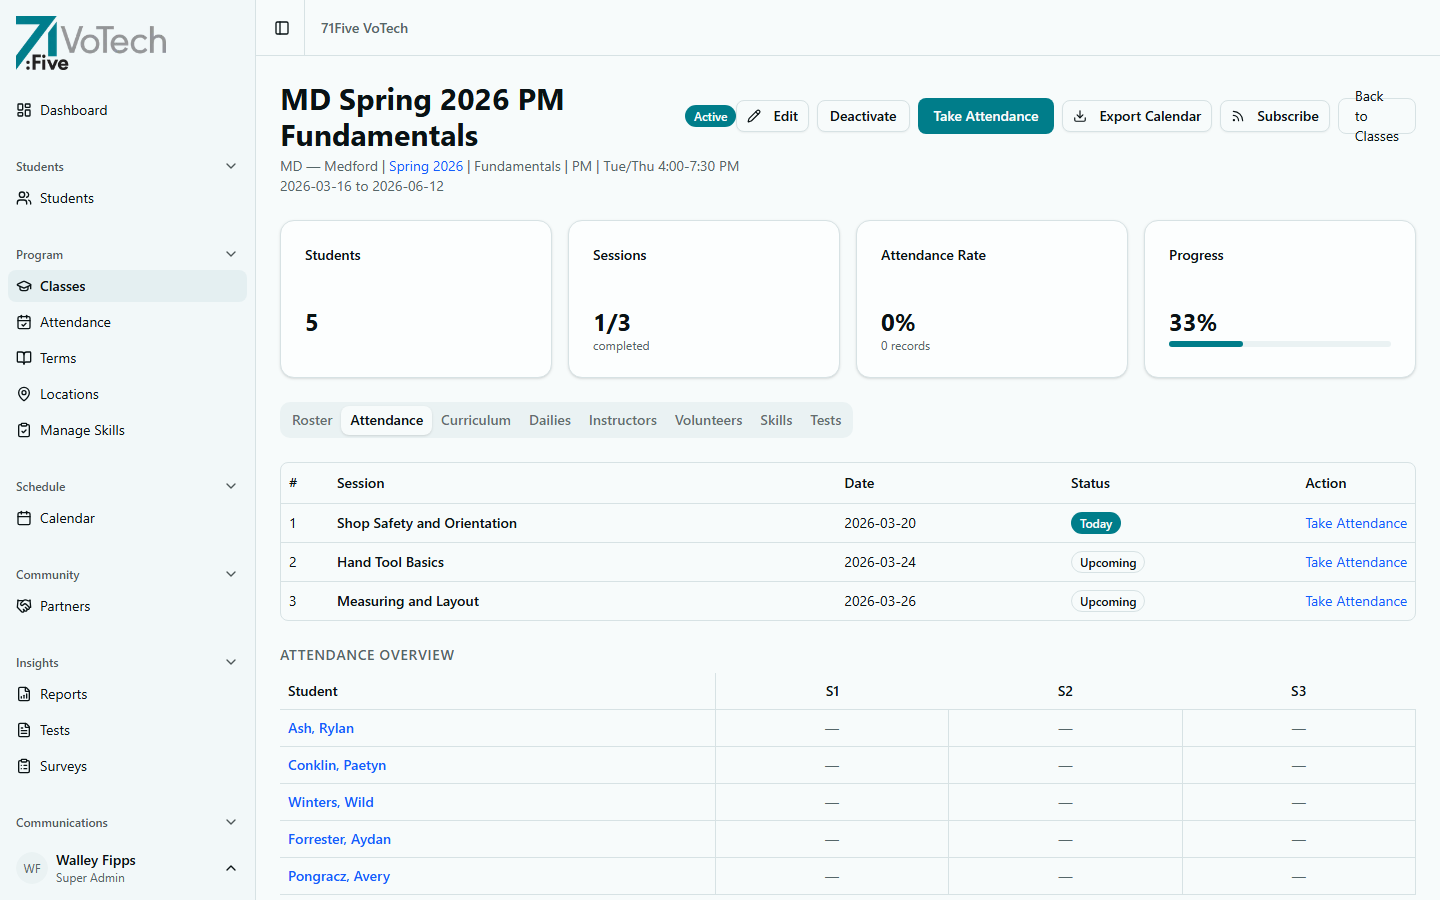
Attendance Tab
- Session list with attendance status for each session
- Attendance grid showing per-student stats
- Date, time, and completion status for each session
Sessions Tab
- Full session list with add/edit capabilities (inline pencil icon per row)
- Add individual sessions (Super Admin, Director)
- Manage the class schedule
- Missing-date warnings: If sessions don't have a scheduled date, a banner shows "X sessions missing a date" and each dateless session displays an "Unscheduled" badge

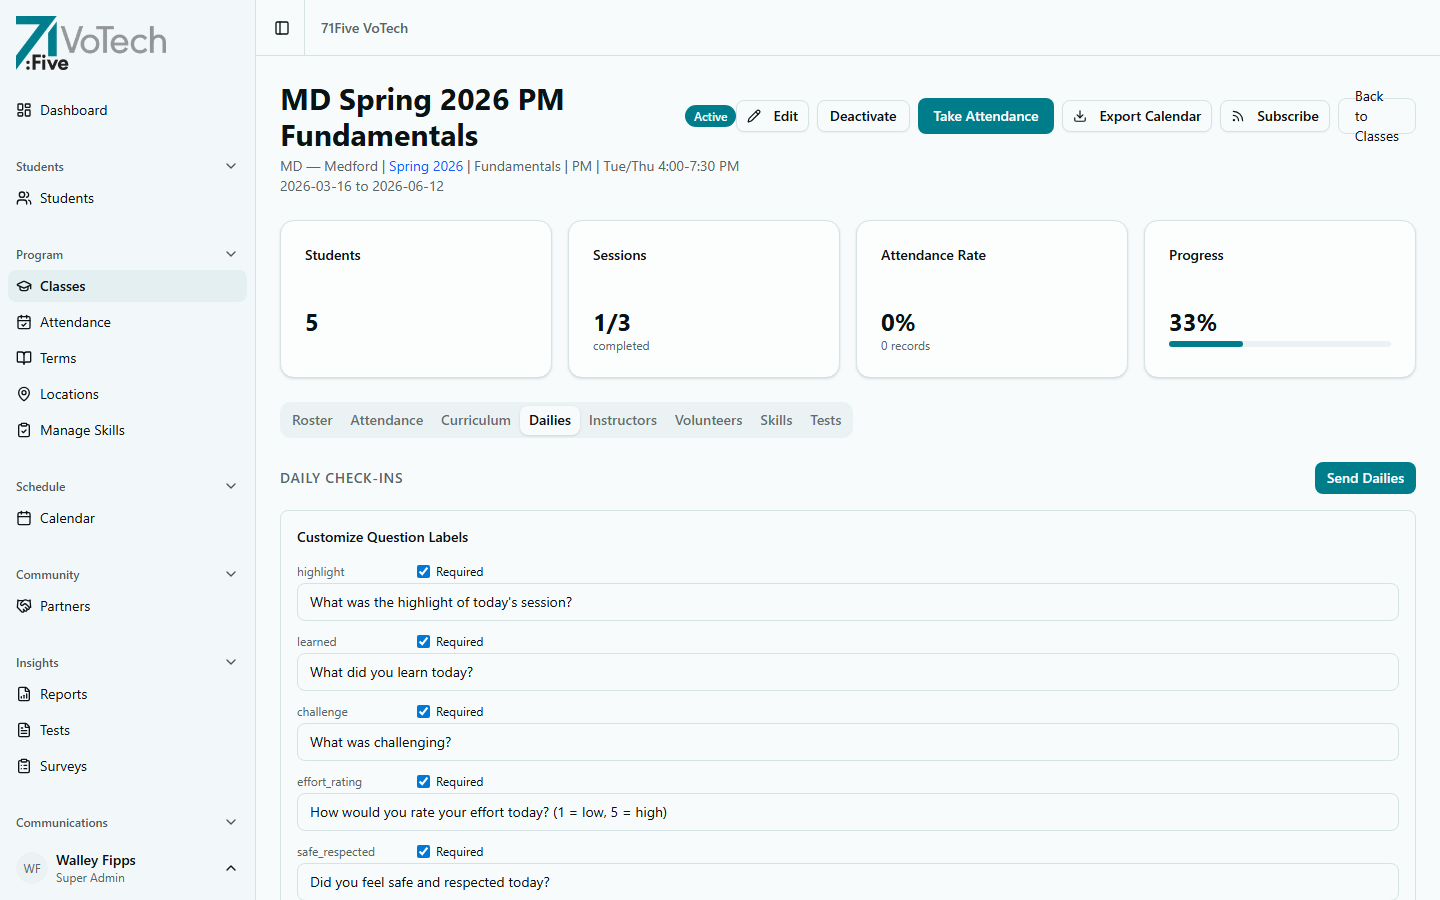
Dailies Tab
- Daily check-in question configuration
- Send dailies to students
- View daily check-in responses
- CSV Export: Click the export button to download all daily responses as CSV
- QR Badges: Click Print QR Badges to generate printable QR code badges for students in the class
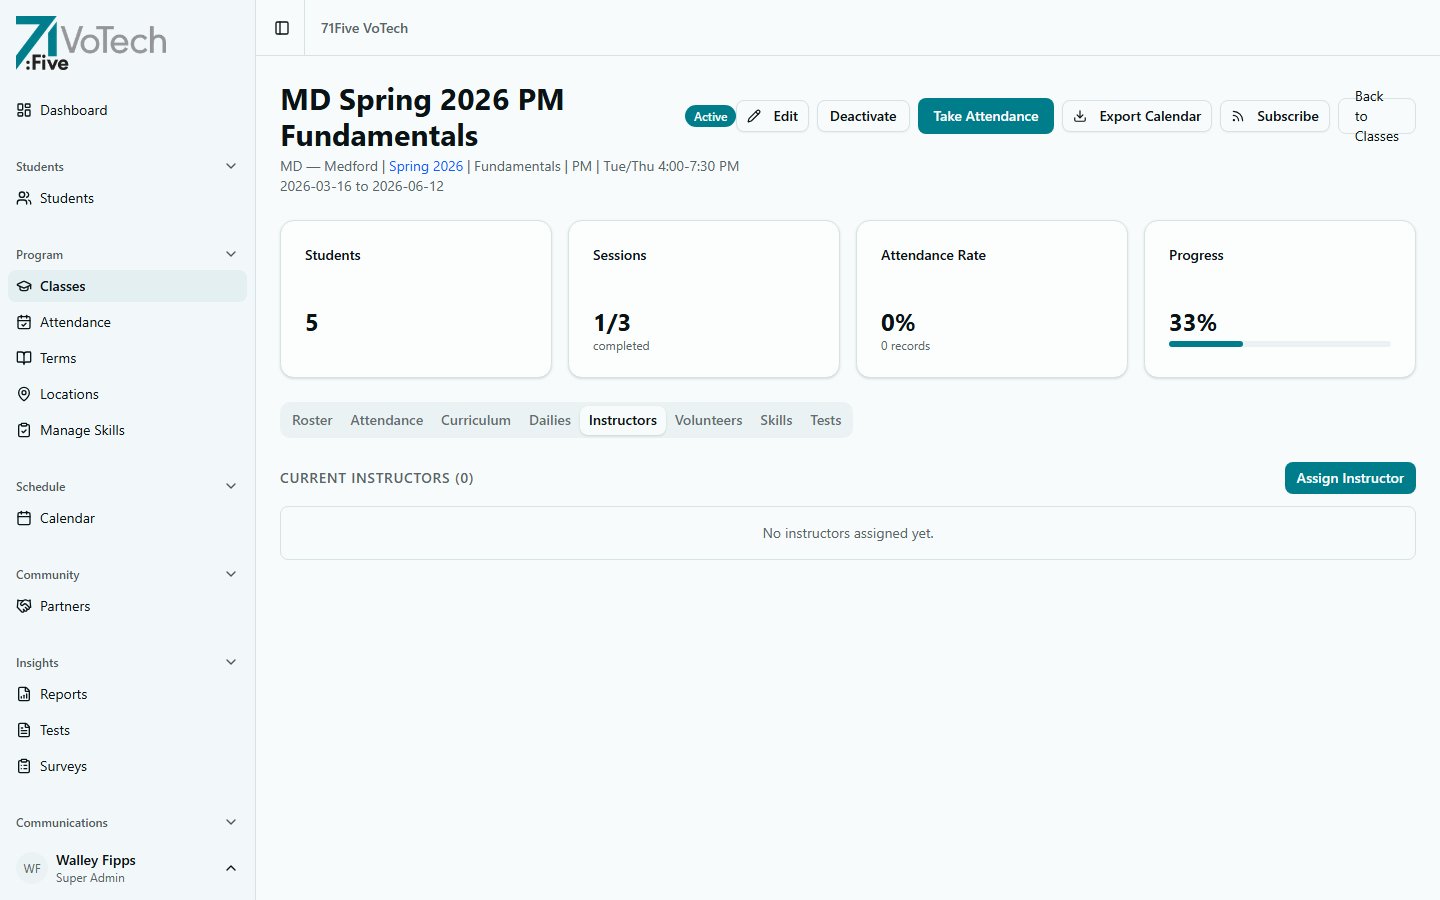
Instructors Tab
- Assigned instructors with remove option
- Assign Instructor dialog (Super Admin, Director)
Volunteers Tab
- Volunteer assignments with edit/remove options
- Assign Volunteer dialog (Super Admin, Director)

Skills Tab
- Baseline and final skill ratings for enrolled students
- Class-wide growth averages

Tests Tab
- Tests assigned to this class
- Completion rates and average scores

👥 Enrolling Students & Assigning Staff
Enrolling Students
- 1
Open the class
Click the class name to open the detail page.
- 2
Go to the Roster tab
The Roster tab is selected by default. You'll see currently enrolled students.
- 3
Enroll the student
Click Enroll Student, search for and select the student, then click Enroll.
💡 A student must already exist in VoTech before being enrolled in a class. If they're new, enroll them as a student first.
Who can enroll: Super Admin, Director, Case Manager
Assigning Instructors / Volunteers
- Open the class detail page → Instructors or Volunteers tab
- Click Assign Instructor or Assign Volunteer
- Search for the staff member → Click Assign
Who can assign: Super Admin, Director
🔄 Activating / Deactivating a Class
- Active classes appear in attendance dropdowns and schedule views
- Inactive classes are hidden from daily workflows but preserved for records
To deactivate:
- Open the class detail page
- Click Deactivate Class
- Confirm
To reactivate: the same process, click Activate Class.
Deactivating a class does NOT delete attendance records or student enrollment history. It simply removes the class from active workflows.
✅ Concluding a Class
Conclude Class is separate from deactivating. It marks a class as completed for the term — finalizing student completion statuses and locking attendance.
- Open the class detail page
- Click Conclude Class in the header (next to the class name)
- Review the confirmation dialog
- Confirm
Concluding a class is final — it signals that the term is complete. Use Deactivate for temporary removal from workflows; use Conclude when the class has genuinely finished.
🔐 Who Can Do What
| Action | Super Admin | Director | Case Manager |
|---|---|---|---|
| View all classes | All locations | County | Location |
| Create a class | Yes | Yes | No |
| Edit class details | Yes | Yes | No |
| Enroll students | Yes | Yes | Yes |
| Assign instructors | Yes | Yes | No |
| Manage sessions | Yes | Yes | No |
| Activate/deactivate | Yes | Yes | No |
💡 Tips & Common Mistakes
Create classes before the term starts. This gives you time to set up the schedule, enroll students, and assign instructors — so attendance is ready to go on day one.
Double-check the schedule when creating a class. If you set sessions on the wrong days, you'll need to manually correct them or recreate the class. Sessions are generated automatically from the schedule.