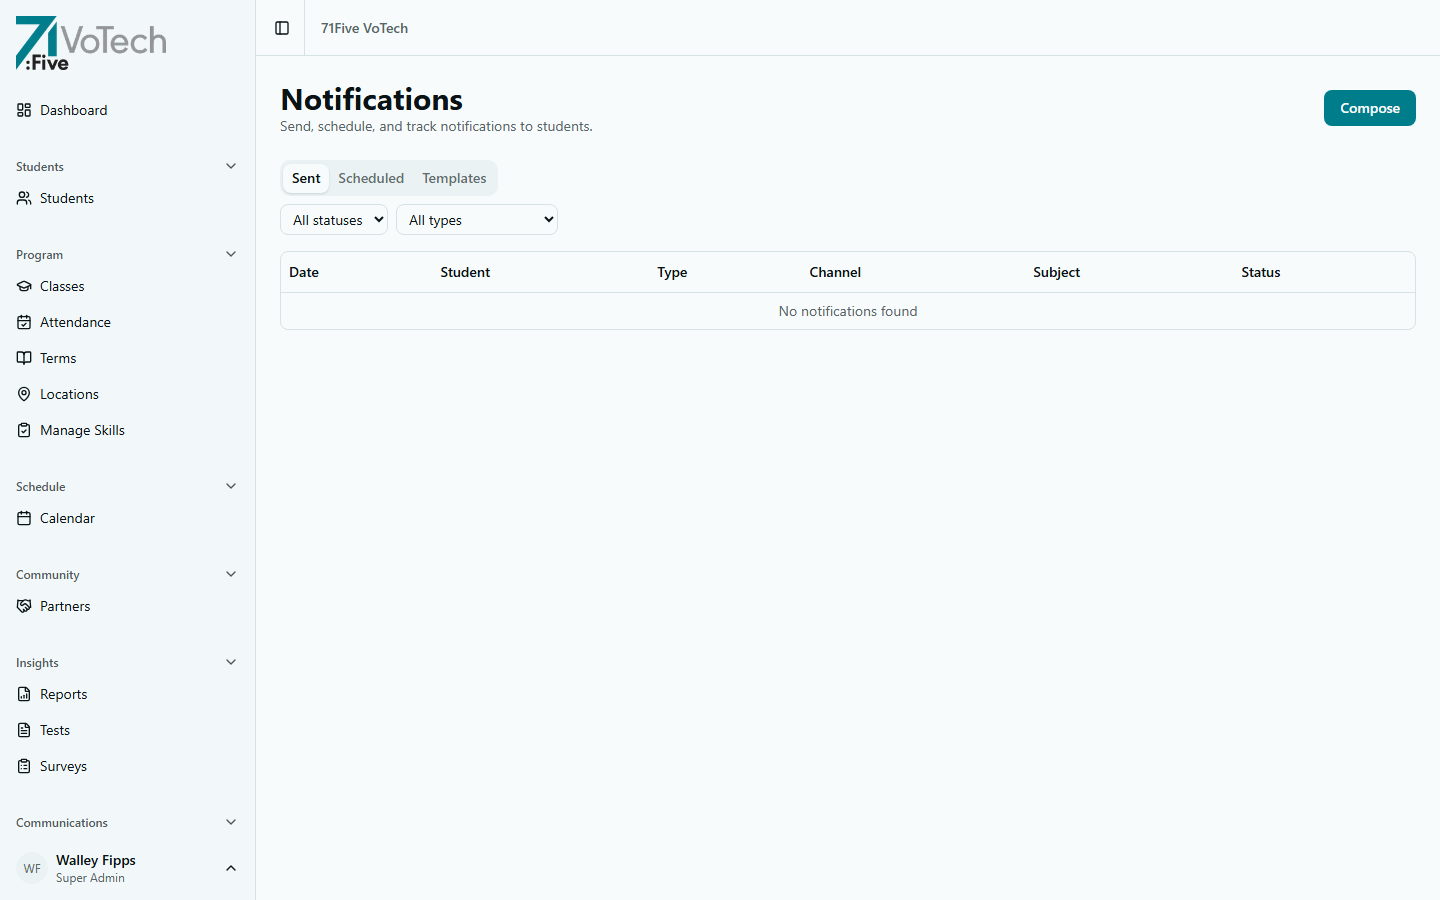
Notifications Hub
Goal: Compose and send notifications to students, parents, and staff — using templates, scheduling, and tracking delivery.
The Notifications Hub is VoTech's central outbound communication system. It supports email (via Resend) and SMS (via Twilio), with built-in templates and delivery tracking.
Composing a Notification
Click Compose in the top right to open the notification composer.
- Click Notifications in the sidebar under Communications
- Click Compose
- Fill in the notification:
Audience
Choose who receives the notification:
- Individual student — search by name
- Class roster — all students in a specific class
- Location — all active students at a location
- Custom list — select specific students
Channel
- Email — sends to the student's email on file
- SMS — sends to the student's phone number on file
- Both — sends via both channels
SMS is only delivered to contacts who opted in during enrollment (A2P 10DLC compliance). Without consent, SMS is silently skipped — the notification will not be delivered via text even if SMS is selected. There is no error or warning shown to the sender.
Message
- Type your message directly, or
- Select a template (see below) and customize it
- Use merge fields to personalize:
{student_name},{class_name},{date}, etc.
- Click Send Now or Schedule (see below)
Using Templates
VoTech includes 20+ pre-built templates for common communications:
| Category | Templates |
|---|---|
| Daily Operations | Daily check-in link, session reminder, appointment reminder |
| Class Updates | Class schedule change, enrollment confirmation, volunteer assignment |
| Assessments | Test link, survey link, follow-up reminder, follow-up survey link |
| Milestones | Certification earned, program completion, milestone celebration |
| Admin | Welcome to VoTech, login help, staff notification |
| Volunteer | Volunteer assignment, schedule update, volunteer removal, volunteer reminder |
To use a template:
- Click Use Template in the compose view
- Browse or search templates
- Select one — the subject and body pre-fill
- Edit the message as needed (merge fields auto-populate when sent)
Templates save time and ensure consistent messaging. Use them as a starting point and customize for your specific situation.
Scheduling Messages
Instead of sending immediately:
- After composing your message, click Schedule
- Select the date and time to send
- Click Confirm Schedule
Scheduled notifications appear in the Scheduled tab with an option to edit or cancel before they send.
Delivery Status & Failed Queue
After sending, track delivery:
- Go to the Sent tab on the Notifications page
- Each notification shows:
- Delivered — successfully sent and received
- Pending — in the sending queue
- Failed — delivery error (see below)
Handling Failed Notifications
- Click the Failed tab
- Each failed notification shows the error reason:
- Invalid email — the email address bounced
- Invalid phone — the phone number is wrong or can't receive SMS
- Service error — temporary issue with email/SMS provider
- Fix the issue:
- Update the student's contact info on their detail page
- Or click Retry to attempt delivery again
Check the failed queue regularly — especially after bulk sends. A wrong phone number or typo in an email address means the student never got the message.
Tips & Common Mistakes
When sending to a class roster, VoTech automatically skips students who don't have the selected channel's contact info (e.g., no phone number for SMS). You'll see a warning listing skipped students.
Notifications are logged and visible on the student's detail page under the Messages section. This creates a communication history for each student.
Never include Tier 1 or Tier 2 data (SSN, ACE scores, case notes) in notifications. These go through email and SMS, which are not encrypted channels.
Notification Bell
The notification bell icon (notification-bell.tsx) is rendered in the dashboard header layout and is visible to Super Admins, Directors, Case Managers, and Coordinators. It displays a badge count of unread notifications.
Clicking the bell opens a dropdown showing recent notifications grouped by type:
- Enrollment — new student enrolled at your location
- Follow-up — follow-up due or overdue for a student
- Survey — survey response submitted
- Session — class session changes (cancellation, reschedule, new ad-hoc)
Actions from the bell dropdown:
- Click a notification to navigate directly to the relevant page (e.g., student detail, follow-up dashboard)
- Mark as read — dismiss individual notifications
- Mark all as read — clear all unread notifications at once
Related Guides
- Staff-to-Student Messages
- Follow-Up System — sending follow-up reminders
- Daily Check-Ins — sending check-in links
- Troubleshooting: Notification Failed